Alexey Shamborsky, 05/28/2014
To date, with all the variety of fences, little of the design could replace the fence from the chain net, made by their own hands.
Advantages of the fence from the chain grid
- Very quickly and easily installed with your own hands;
- Low cost;
- The ease of construction does not require an enhanced foundation;
- Misses light, it will not create conflict situations with neighbors due to the shadow being created;
- Strict and unobtrusive appearance, which perfectly fits into any landscape.
Installation methods
The fence from the grid of the Rabita can be installed in two ways:
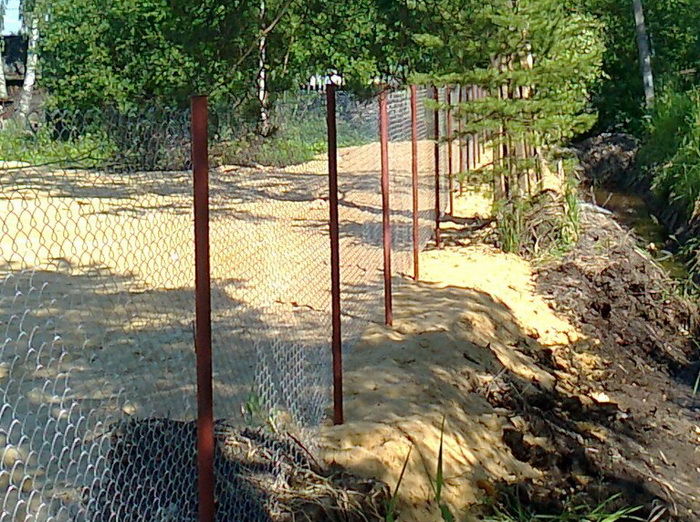
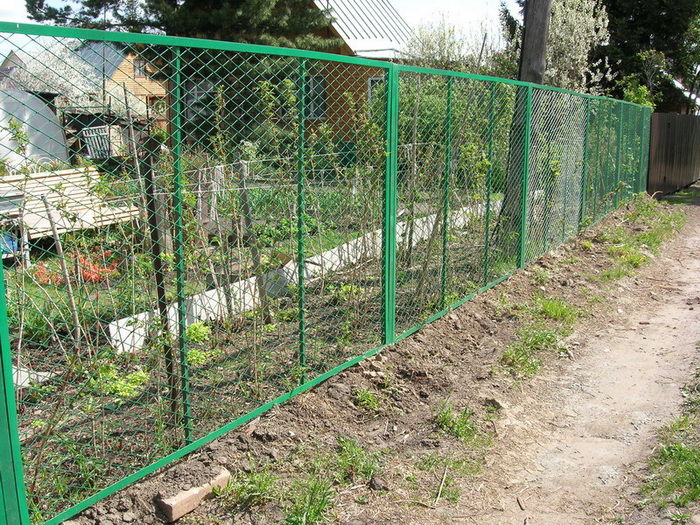
1. NormalAs in the photo above, when the grid is tensioning between two supporting columns. This method is at times cheaper and easier. It is recommended to use in cases where the goal is not to pursue an impeccable appearance, but you just need to install the fence quickly and cheaply.
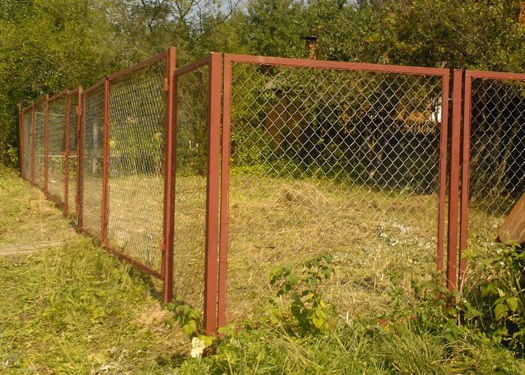
2. SectionalAs in the photo above, when the finished sections of the fence are manufactured, in which the fragment of the chain grid is fixed. This method will cost the order more expensive, because it will have to get a metal corner, the price of which is higher than the grid itself, but at the same time the fence itself will be much more attractive and practical (for example, on the top of the fence it will be possible to hang a carpet, something to dry, etc.)
Materials
To install such a fence, we will need the following materials:
- Metal poles 50x50x2x3000 mm;
- Rabita grid (not galvanized, galvanized or plasticized);
- Fastenings (nails, galvanized bolts);
- Concrete M200.
Step-by-step instructions for installing a fence from the chain grid
So how to make a fence from the chain grid with their own hands?
I. Marking of the territory.
We begin work from drivening the pegs in the corners of the site and pulling the laces between them. We measure the length of the lace is the length of the required grid of the chain, it is also necessary to consider + 5-7% of the additional length "about the supply". Next, place the places of support, the optimal step is 2.5-3 m.
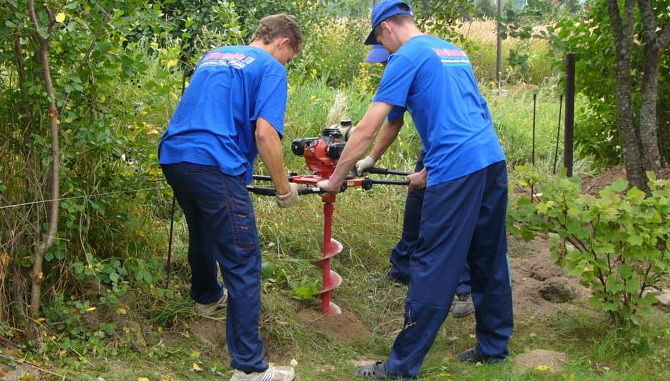
II. Installing columns.
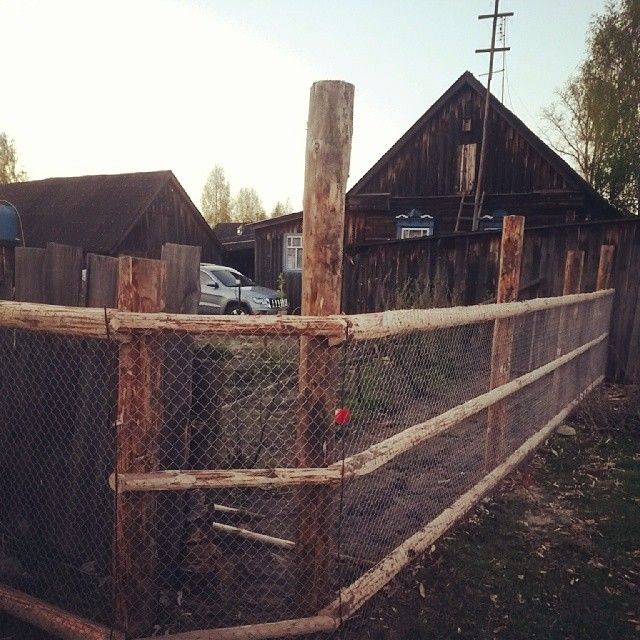
In the event that, after the construction of the house there was a sufficient amount of wooden timber or other material that can be used as future fencing pillars; When the price for the "forest" in your region is at times cheaper than the metal profile, well, or you just need a temporary fence - then you should use wooden supports. The surface of the wooden bar must be cleaned from the crust, and it is also desirable to treat it with antiseptics and waterproofing mastic that will protect the material from rotting and pests. Cut the pillars follows from the calculation of the desired height of the fence, as well as the depth of the base of the base (the pit must be greater than 100-150mm from the depth of the soil; therefore, if you count on a two-meter fence, and the depth of the primer of the soil is 800 mm; m). But such supports will not be asked for a long time, so it is better to use metal pillars!
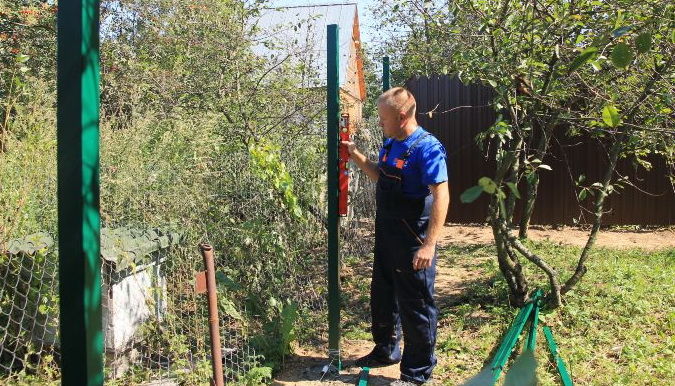
If you decide to build a thorough and durable fence - take care of the purchase of metal columns. The installation of such supports requires base concreting. The depth of the concrete pit should be 1/3 of the height of the fence. For example, if you planned to put a fence with a height of 2 m, the depth of the pit should be at least 1 m (also should be taken into account the depth of the freezing and the bunch of soils).
III. Rabits grid stretch.
To the wooden base of the fence is more convenient to penetrate the grid with nails.
![]()
Sectional fence from the chain grid do it yourself
The main difference of this method from the usual is the presence of a frame.
For the installation of a sectional fence from the chain grid, we need the following materials:
- Metal pillars 50x50x2x3000 mm;
- Rabitan Galvanized Mesh or Plasticized;
- Corner metal bent 40x40x3 mm
- Metal rod and lanes for welding
- Concrete M200
Marking and installation of the pillars of the sectional fence from the chain is no different from its simpler counterpart, but with welding frames will have to sweat. If you do not have good welding skills, it is better to turn to a professional.
Planning the sections, do not forget that you need to do 100-200 mm shorter than the distance between the fencing supports and 100-150 mm above the soil level.
Having placing and cutting off the grid in size of the welded rectangle, evenly stretch it on the frame and putting the metal bars from above welded everything into a holistic design.
Finished sections are attached to the pillars with welding.