Light inexpensive mesh fences are widely used in the fence of country sites. Set the fence from the grid of the chain chain can anyone, having a minimum of tools at hand. In compliance with the technology of installation and the choice of high-quality materials, such a fence will last 15-20 years. Before starting work, you need to study the types and characteristics of the grid, as well as study in detail the instructions in order to avoid errors.
The grid is made of black and galvanized wire, so the quality of the chain chain is different. Black wire grid is the cheapest and short-lived. It is covered with rust after the first fog or rain, and after 3-4 years it comes to full dissent. It is possible to extend the service life of the non-scattered challenge using paint or liquid rubber, which should be applied to the grid before it is installed, and then periodically update the protective layer.
The grid of galvanized corrosion wire is not afraid, and therefore serves longer. It costs a little more expensive black, but absolutely does not need protecting processing. Fences from galvanized chain chains look neat and attractive.
Plasticized Rabita is becoming increasingly popular. This metal mesh is covered with a dense layer of anti-corrosion polymer, thereby having increased resistance to atmospheric effects. In addition, the polymer is colored, the grid looks very attractive and aesthetically. And although such a challenge is quite expensive, the demand for it is constantly growing.
In addition to the quality, the chain grid is characterized by the size of cells, wire thickness and the height of the roll. Cells may have dimensions from 10 to 65 mm, the wire diameter is 1-5 mm. Roll height from 0.8 to 2 m, but the most sought-after - 1.5 m. The standard grid length in the roll is 10 m, the rolls are made at 20 m. The smaller cells, the more expensive the cost of the grid, because it increases the material consumption .
| Type of grid Rabita | Wire diameter, mm | Mesh width, mm | Live cross section mesh,% | Estimated weight 1m2 mesh, kg |
|---|---|---|---|---|
| 1,20 | 1000 | 55,0 | 4,52 | |
| wicker Mesh with Rhombic Cell | 1,20 | 1000 | 61,0 | 33,73 |
| wicker Mesh with Rhombic Cell | 1,20 | 1000 | 69,8 | 2,78 |
| wicker Mesh with Rhombic Cell | 1,40 | 1000 | 65,5 | 3,8 |
| 1,20 | 1000,1500 | 75,3 (78,9) | 2,20 (1,94) | |
| wicker grid with a rhombic or square cell | 1,40 | 1000,1500 | 71,5 (76,2) | 3,00 (2,57) |
| wicker grid with a rhombic or square cell | 1,40 | 1000,1500 | 76,3 (77,0) | 3,24 (2,74) |
| wicker grid with a rhombic or square cell | 1,60 | 1000,1500 | 73,3 (77,0) | 3,24 (2,74) |
| wicker grid with a rhombic or square cell | 1,80 | 1000,1500 | 76,0 (78,9) | 3,25 (2,75) |
| wicker grid with a rhombic or square cell | 1,60 | 1000,1500 | 77,5 (80,9) | 2,57 (2,17) |
| 1,4 | 1000-2000 | 83,6 | 1,77 | |
| wicker grid for fences | 1,4 | 1000-2000 | 87,0 | 1,33 |
| wicker grid for fences | 1,6 | 1000-2000 | 85,7 | 1,74 |
| wicker grid for fences | 1,6 | 1000-2000 | 88,0 | 1,39 |
| wicker grid for fences | 1,8 | 1000-2000 | 87,0 | 1,76 |
| wicker grid for fences | 1,8 | 1000-2000 | 89 | 1,46 |
| wicker grid for fences | 2,0 | 1000-2000 | 87,9 | 1,81 |
| wicker grid for fences | 1,8 | 1000-2000 | 91 | 1,1 |
| wicker grid for fences | 2,0 | 1000-2000 | 90,7 | 1,36 |
| wicker grid for fences | 2,0 | 1000-2000 | 91,7 | 1,23 |
| wicker grid for fences | 2,5 | 1000-2000 | 90,7 | 1,70 |
| wicker grid for fences | 3,0 | 1000-2000 | 89 | 2,44 |
| wicker grid for fences | 2,5 | 1000-2000 | 92 | 1,41 |
| wicker grid for fences | 3,0 | 1000-2000 | 92 | 1,74 |
| wicker grid for fences | 2,5 | 1000-2000 | 94 | 1,10 |
| wicker grid for fences | 3,0 | 1000-2000 | 93 | 1,53 |
Types of mesh fences
The fence from the chain grid is sectional and stretched. The first option provides for the manufacture of rectangular metal sections, inside which the grid is fixed. For sections, metal corners, profile and round tubes of a small diameter are used. Connect them with welding or bolts if there is no welding machine. Such a fence looks more aesthetically and attractive, the metal frame does not allow the grid to be saved.
Stretching fence to install faster and easier; Its design consists only of support pillars and the grid itself. Fasten the mesh with steel wire, clamps or hanging hooks on the folds welded to the columns. For pillars, pipes are suitable for different diameters, concrete columns, wooden timber.
Installation of fence columns
And for the sectional, and for the tensioning fence markup, the preparation and installation of the columns is made according to the same technology, only in the first case the poles must be stronger. This is due to the additional load from the metal sections; If the supports are too thin, the fence necessarily turns.
For work it will be necessary:
- roulette;
- wooden pegs;
- motok thin rope;
- building level;
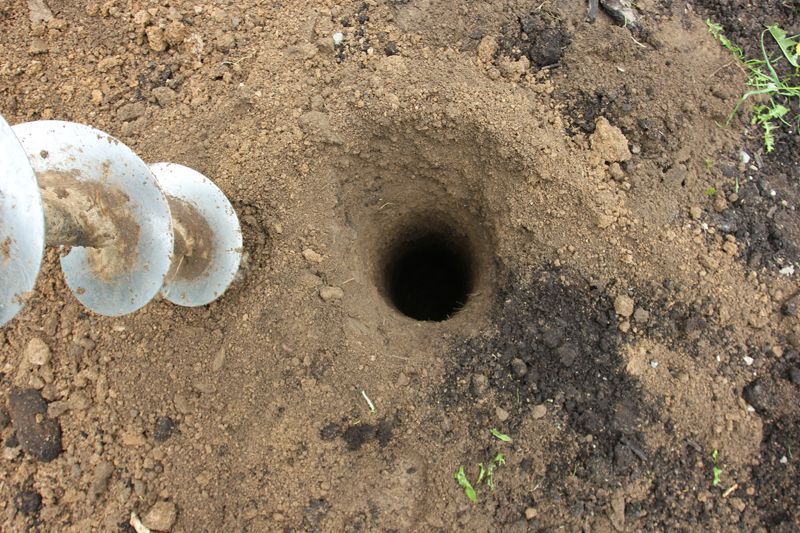
- manual drill;
- crushed stone and sand;
- concrete solution;
- profile pipes 60x40 mm;
- bulgarian;
- primer.
Step 1. Installing corner pillars
The site designated under the fence is purified from vegetation if you need to align, determine the location of the extreme columns. Experienced builders recommend angular poles from the pipes of a larger cross section than intermediate, and boil deeper. For example, if the intermediate supports take the profile pipe 40x40 mm, then it is better to take 60x40 mm for angles and 15-20 cm is longer.
Getting started to install pillars:
When the solution is slightly freezing, you can remove the struts and proceed to the markup for intermediate racks.
Step 2. Marking
Between the corner supports, the rope is tightened at a height of 15 cm from the ground - it will be a fence line. The line must be divided into equal segments corresponding to the width of the span. The optimal width of the span for the fence from the slave is 2-2.5 m; If you increase it, the grid will definitely offer. Retreat from the extreme pillar to the desired distance and drive into the soil pegs, and so to the opposite corner. All pegs should come into contact with a stretched rope and be on an equal distance from each other.
Video - a new way to install support pillars
Step 3. Installing Intermediate Supports
At the scene of the pegs, the holes under the columns and fall asleep with the bottom of the sand. To make more convenient to control the height of the supports, on the upper edge of the corner racks stretch another rope. Now the pipes are inserted into the pits, leveling in height and vertical, befened with rubble and soil and tightly tightly scramble. Top poured concrete and smash the surface.
If you plan to install a tension fence, and the ground on the site is quite dense, the intermediate supports can be simply scored in the ground and do not concrete. For this, the holes are dried on half the required depth, insert pipes there and clog the sledgehammer. To protect the upper edge of the deformation columns, take a piece of a larger pipe, welded a steel plate on one side and put on top to the column. After the pit supports, the pits fall asleep with rubble and sand, shed water to a better seal and a pretty tram.
Step 4. Welding hooks
About a week later, when the concrete is hard enough, you can continue the installation. Consign the grid on the pillars with wire or clamps, but it is more convenient to push it on the hooks. There are profile pipes with already welded hooks, but if there is a welding machine, cheaper to make them alone. For this, it will suit the segments of the steel rod, screws, nails, even a thick wire - everything you can tear to the pipe and bend. On the post 2 m height, it is enough to make 3 hooks: at a distance of 15 cm from the ground, 10 cm from the top of the pipe and in the middle.
Video - fence from the challenges with their own hands
Step 1. Mounting Mesh
The chain roll is set near the corner post, wound a little and put on the cells on the hooks. To securely fix the edge of the grid, you need to take a segment of the reinforcement with a cross section of 8 mm and a length of 1.5 m and to turn it into the first row cell. After that, the reinforcement attach to the pipe and weld. Now, when tensioning the roll, the grid will not be fed. Securing the end of the mesh, the roll is transferred to the next support, gently unwinding it.
Recovering the platform connections with a pipe 10-15 cm, the steel rods again fought in the cells. This time it is not necessary to weld it, it just helps evenly pull the grid. When the grid is hoping for hooks, the rod is taken out, the roll is unwinding another span, they again in the reinforcement and so until the very end of the fence. To connect two canvases, a wire from the extreme vertical row of one of the rolls is used.
Step 2. Locking the canvas from sagging
Even a well-stretched canvas over time saves a little, so at the installation stage you need to take care of the additional fixation of the challenges between the columns. It will take the wire with a cross section of 6 mm and the welding machine. The wire is fought in the second or third row of cells horizontally along the entire fence. In places of mesh adjacent to the columns, welded wire. Then the bottom edge of the grid is then strengthened, and the hooks bend in complete. Now the cloth of the fence is securely fixed on the supports and will not be fed and saving.
Step 2. Preparation of racks
From sheet steel, rectangular plates 20x5 cm and 4-5 mm thick thickness are cut. Take one plate, apply perpendicular to the post at a height of 20 cm from the ground and weld. The second plate is welded at the top, retreating from the edge of 15-20 cm. The plates on the rest of the supports are fixed in the same way.
Step 3. Installation of sections
The first section is put between pillars, lifted and exposed in terms of level. Then weld the sides to the plates and go to the next span. It is very important to correctly combine the sections in the height, so that the upper crossbars of the frame make a single line. After installing all sections, the places of welding are cleaned, grind and paint the frame of the fence.